OpenBao standalone
Updated: 21 September 2024
OpenBao version: 2.0.0
Introduction
Every components needed for an OpenBao infrastructure are installed on this single instance. The GUI is also available on the same instance.
Getting started
Connecting to the web console
To connect to the web console:
- Connect to
https://[instance url/ip]:8200
Initializing the vault
Initialize the vault from the web console
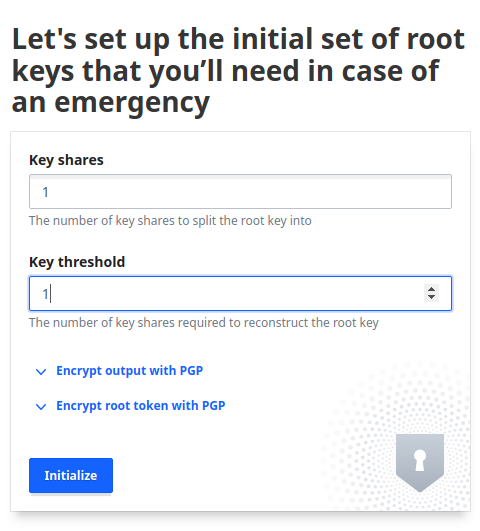
You first have to initialize the vault. You can do it from the web console or from the command line. To do it from the web console:
- Connect to
https://[instance url/ip]:8200, and set the number of key shares to split the root key into, and set the number of key shares required to reconstruct the root key. For simplicity, we use 1 share and 1 required share.

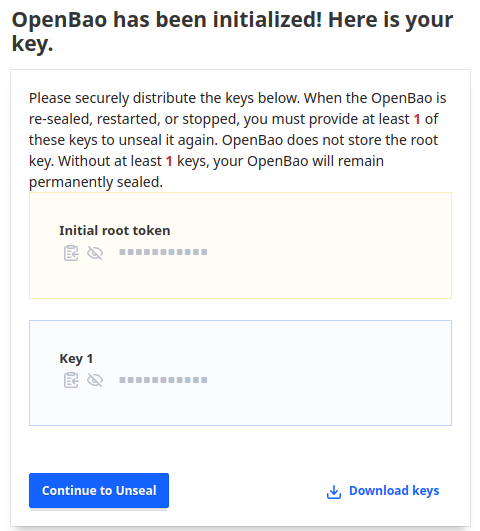
- Store the output root token and the output keys in a safe place.

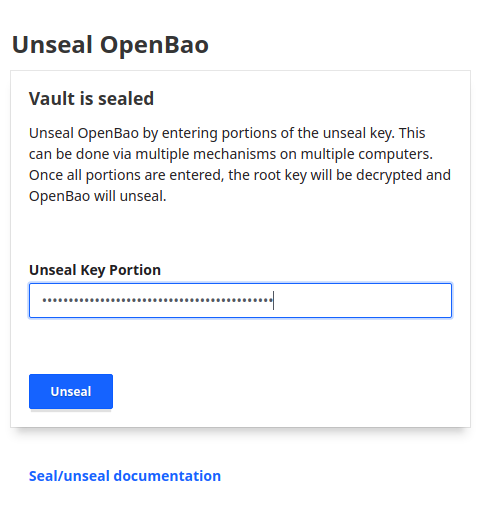
- To unseal the vault, you need to copy/paste the output keys in the "Unseal Key Portion" field.

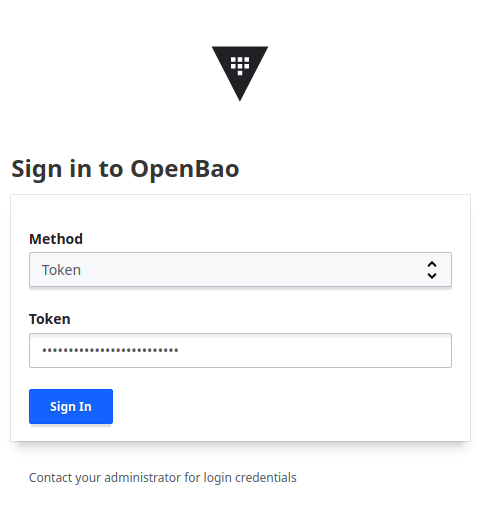
- The firtst time you log in, you can use the root token to login.


Initialize the vault from the command line #TODO
You can also initialize the vault from the command line. To do it, you need to set the number of key shares to split the root key into, and set the number of key shares required to reconstruct the root key. For simplicity, we use 1 share and 1 required share.
Connect to the openbao instance through SSH, and then set the environment variables.
export VAULT_ADDR='https://127.0.0.1:8200'
For simplicity, we use 1 key share and 1 required share to initialize the vault :
openbao operator init -tls-skip-verify -key-shares=1 -key-threshold=1
Store the output root token and the output keys in a safe place.
Unseal the vault:
openbao operator unseal -tls-skip-verify <unseal_key>
Check the status of the vault:
openbao status -tls-skip-verify
Some simple tests to perform
0. Setting the environment variables
Connect to the openbao instance through SSH, and then set the environment variables.
export VAULT_ADDR='https://127.0.0.1:8200'
export VAULT_TOKEN='<root_token>'
1. Check the status of the vault
openbao status -tls-skip-verify
2. List the secrets engines available
openbao secrets list -tls-skip-verify
3. Create a secret engine
openbao secrets enable -tls-skip-verify -path=secrets kv-v2
4. Store a secret
openbao kv put -tls-skip-verify secrets/mysecret password=mysecretvalue
5. Read a secret
openbao kv get -tls-skip-verify secrets/mysecret
6. Create a user
Enable the userpass auth method:
openbao auth enable -tls-skip-verify -path=userpass userpass
Create a user:
openbao write -tls-skip-verify auth/userpass/users/testuser password=testpassword
Authenticate with the new user:
openbao login -tls-skip-verify -method=userpass username=testuser password=testpassword
Configuration files
Where is the configurations?
The configuration file is stored in:
/var/lib/openbao/config/config.hcl
Where is the service file?
The service file is stored in:
/etc/systemd/system/openbao.service
Where is the certificate?
The SSL certificate is self-signed.
The certificate and the key are stored in:
- /var/lib/openbao/tls/tls.key
- /var/lib/openbao/tls/tls.crt
I need help
If you need help, please refer to the official documentation.